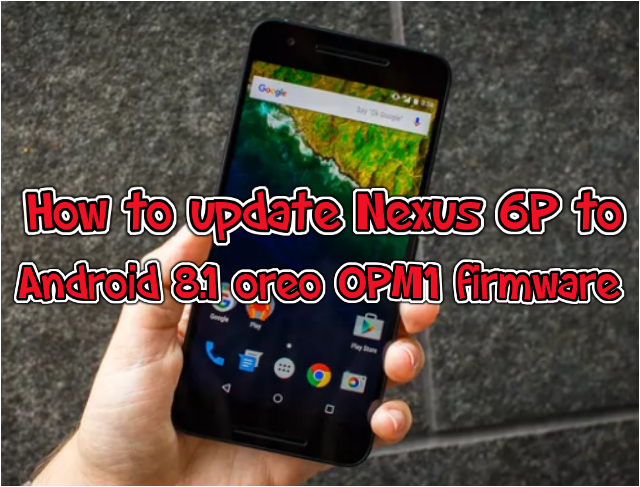
Android is now upgraded to 8.1. This guide will help you to know how to “update Nexus 6P- Android 8.1 oreo OPM1 firmware” manually. The Android 8.0 Oreo, major features include the API jump, Artificial Intelligence support, and optimizations. For this, we are expecting that you have already unlocked the bootloader your Nexus 6P smartphone.
When you install this Android 8.1 Oreo factory image, your data will be removed and it will be like a brand new phone.
Nexus 6P:
Nexus 6P is an Android smartphone. It was developed and marketed by Google and manufactured by Huawei. It succeeded the Nexus 6 as the flagship device of the Nexus line of Android devices by Google.
Specs of Nexus 6p:
Let’s have a look at the specs of Nexus 6p
NETWORK: TechnologyGSM / CDMA / HSPA / LTE
BODY: Dimensions 159.3 x 77.8 x 7.3 mm (6.27 x 3.06 x 0.29 in), Weight178 g (6.28 oz), BuildFront glass, aluminum body, and Nano-SIM
LAUNCH: Announced and released on 29 September 2015
MEMORY: No card slot, and internal 32/64/128 GB, 3 GB RAM
CAMERA: Primary of12.3 MP (f/2.0, 1/2.3″, 1.55 µm), laser autofocus, dual-LED dual-tone flash and Secondary 8 MP, f/2.4, 1080p@30fps
Protection: Corning Gorilla Glass 4, oleophobic coating
Resolution: 1440 x 2560 pixels, 16:9 ratio (~518 ppi density)
Type: AMOLED capacitive touchscreen, 16M colors
Size: 5.7 inches, 88.5 cm2 (~71.4% screen-to-body ratio)
SOUND: 24-bit/96kHz- Active noise cancellation with dedicated mic and with front stereo speakers
Updating Nexus 6P to Android 8.1 oreo OPM1 firmware:
Things To Remember:
- This guide is only for Nexus 6P and not for any other device. We are not sure that it will work on the other variants of the Nexus 6P or others.
- Your phone may have any previous Android version. This guide will still work for installing Android 8.1 Oreo.
NOTE: Installing Android 8.1 Oreo OPM1 factory image will DELETE / ERASE all data from your phone even if your bootloader is locked or unlocked. Please make sure you have a backup of all the data.
Step-By-Step Instructions to Update Nexus 6P:
Step 1 – Download Android 8.1 Oreo Factory Image (angler-opm1.171019.011-factory-39448337.zip) for Nexus 6P on your PC.
[mks_button size=”large” title=” Download Android 8.1 Oreo Factory Image ” style=”squared” url=”https://dl.google.com/dl/android/aosp/angler-opm1.171019.011-factory-39448337.zip” target=”_blank” bg_color=”#377fbf” txt_color=”#FFFFFF” icon=”fa-arrow-circle-o-down” icon_type=”fa” nofollow=”0″]
Step 2 – Via USB cable connects your Nexus 6P to your computer.
Step 3 – Make sure Fastboot is configured and installed on your computer. How? click here: How to Set Up ADB and Fastboot with Android SDK.
Step 4 – Turn your phone OFF.
Step 5 – Get into the Fastboot/Bootloader Mode of your phone. Turn ON the phone while keeping the Volume Up + Volume Down + Power buttons press till you see the Fastboot menu and START menu on top.
Step 6 – Now extract the all downloaded file anywhere on your PC or laptop. Go to the folder angler-OPM1 and then move all the files to your Fastboot directory!
Step 7 – From the factory image files in your Fastboot directory, do the following. It depends on which OS you are on:
- Windows: Run the file “flash-all.bat”.
- MAC: Start running the file “flash-all.sh” using Terminal.
- Linux: Run the file “flash-all.sh”.
Step 8 – That’s pretty much that you had to do for flashing the stock factory image on your Nexus 6P. Now, wait for the completion of the process.
Step 9 – After the completion of installation, the phone will boot now and it might take some time to boot on your first time. So, wait!
That’s all! Your Nexus 6P now have the official Android 8.1 Oreo OPM1 software update installed. Go to Settings >About phone to verify.


![Download and Install Marshmallow B898 on Huawei P8 Lite [OTA Update] [L21-Vodafone] Download and Install Marshmallow B898 on Huawei P8 Lite [OTA Update] [L21-Vodafone]](https://d13porlzvwvs1l.cloudfront.net/wp-content/uploads/2016/12/Download-and-Install-Huawei-P8-Lite-Marshmallow-B898-OTA-Update-L21-Vodafone.jpg)


![Download and install Huawei P10 plus B186 nougat update[Europe] Download, install Huawei P10 plus B186 nougat update[Europe]](https://d13porlzvwvs1l.cloudfront.net/wp-content/uploads/2018/01/Download-and-install-Huawei-P10-plus-B186-nougat-updateEurope.png)

Leave a Comment