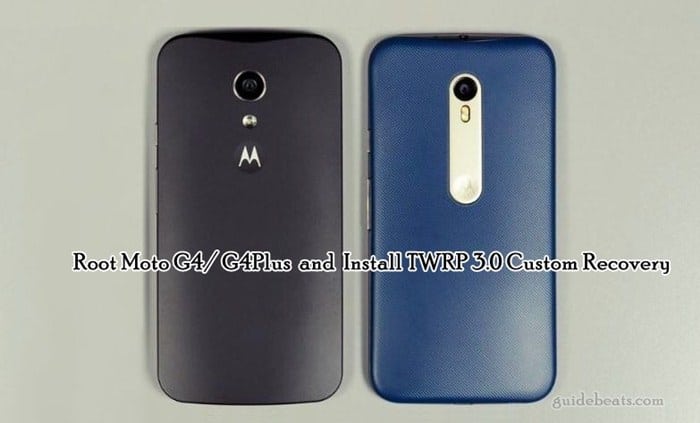
It’s an easy guide here to root Moto G4/G4 Plus and Install TWRP recovery. The users of Mote G4 willing to customize for further enhancement can use it. However, it’s unofficial and high customized operation and you will lose the warranty of your phone. You can restore it back via installing stock firmware anytime.
Moto G4 and G4 Plus both are the latest and much faster and powerful android smartphones of Motorola Moto G family. It has amazing specs that should you be aware. Here you can check it [Link]. Here we will learn root Moto G4/G4 Plus and Install TWRP Custom Recovery. Simply download TWRP recovery and SuperSU beta zip file from the link. Then install TWRP first and then using TWRP recovery flash SuperSU to root Moto G4/G4 Plus.
DISCLAIMER: via this guide and tools you can only Root Moto G4/G4 Plus and Install TWRP. Other devices are not compatible with this guide. Also, keep processing only at your own risk. Root involves some violation of manufacturer policy and they consider the warranty of your device void.

Preps| Downloads:
- It’s strongly recommended to fully backup your entire data on Moto G4 before proceedings.
- Do sufficiently charge the Moto G4 battery to avoid any critical shutdown.
- Install Moto USB driver at your PC. [Download Link].
- Enable USB Debugging and OEM Unlock at Moto G4. [Settings. >>Developer Options].
- Download “Moto- G4 –G4- Plus –Root- TWRP- 3.0.Zip” file, [Link].
Install TWRP Custom Recovery.
- Unzip the download “Moto – G4 –G4 – Plus –Root – TWRP – 3.0 .Zip” file and then go to that extracted folder.
- Open cmd window here in that folder. >> press and hold shift key at the keyboard and then right click mouse then click on the “open command window here”.
- In the cmd window copy and paste or write the below commands and press enter at the keyboard after every command.
fastboot reboot-bootloader
fastboot flash recovery twrp.img
fastboot flash boot boot.img
fastboot reboot
Root Moto G4/G4 Plus.
- Now after the normal boot, copy the BETA- SuperSU- V2.62.3” file into Moto G.
- Disconnect Moto G and turn off.
- Boot Moto G in TWRP recovery via press and hold Down Volume and Power at once.
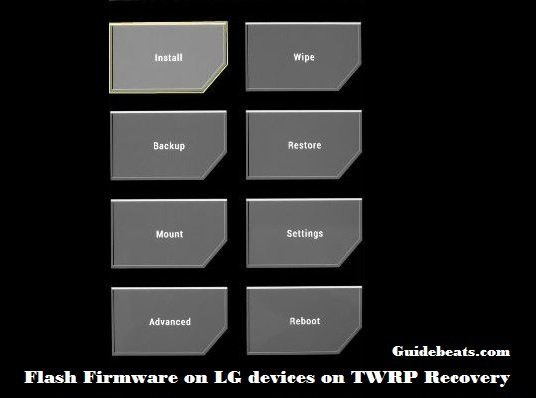
- In the recovery primary menu tap Install and then locate and select SuperSU zip file that you have copied in the first step.
- Now swipe to confirm and then go back after process gets finished.
- Finally, press Reboot at main recovery menu.
That’s how to Root Moto G4/G4 Plus and Install TWRP 3.0 Custom Recovery.
Also, download [Moto G4 Plus Stock Wallpapers Full HD].


![Download and Install Marshmallow B898 on Huawei P8 Lite [OTA Update] [L21-Vodafone] Download and Install Marshmallow B898 on Huawei P8 Lite [OTA Update] [L21-Vodafone]](https://d13porlzvwvs1l.cloudfront.net/wp-content/uploads/2016/12/Download-and-Install-Huawei-P8-Lite-Marshmallow-B898-OTA-Update-L21-Vodafone.jpg)


Leave a Comment