Hi friends, Recently we have posted about Sony Xperia Z2 Rooting running the official Android 5.1.1 Lollipop and now we are going to share how to root Sony Xperia ZL on Android 5.1.1 Lollipop. The guide will also let you install TWRP recovery on your Xperia ZL.
If you have Sony Xperia ZL and are interested in rooting their smartphone and installing recovery, check out the step-by-step guide below.
Disclaimer: This guide is only for Sony Xperia ZL don’t try it on other devices, also we guidebeats are not responsible for any kind of damage caused by following these steps, try it on your own risk.
Preparation:
- Xperia ZL with unlocked bootloader: Read Here
- Download TWRP recovery : Link
- SuperSU package : Link
- Properly set up ADB and Fastboot: Read Here
How to Root Xperia ZL on Android 5.1.1 Lollipop with TWRP Recovery:
Step 1: First of all, download the TWRP recovery and SuperSU package: Here
Step 2: Now Copy the SuperSU package in your phone storage.
Step 3: Enable USB debugging by going to Settings -> About Phone -> tap the build number 7-8 times until you get the message that you are a developer -> Settings -> Developer options -> USB Debugging.
Step 4: Switch off your device and reboot it in bootloader mode by pressing & holding volume up button and plugging in the USB data cable. The LED will turn blue indicating that you are in bootloader mode.
Step 5: Now go to the folder where you have copied the boot.img and open a command prompt from there by holding shift key & pressing right-click and then choosing “open cmd window here”.
Step 6: Type the following command in the command window, you will see a device listed in the command window.
fastboot devices
Step 7: Once you’ve done that. Now enter the following command to flash the recovery.
fastboot flash boot boot.img
Step 8: Once the recovery has been flashed, reboot your device in recovery by turn off your smartphone and switching it back off by pressing volume down, power button at same time and leaving the power button once you feel a vibration.
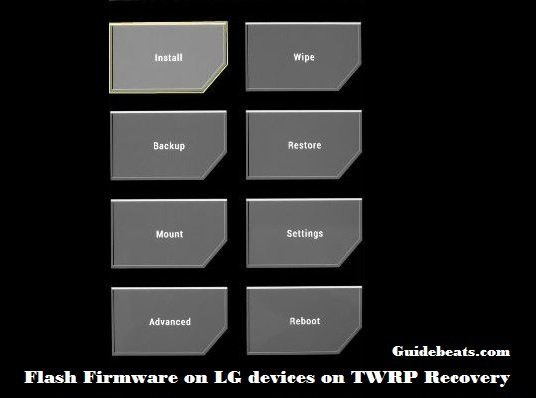
Step 9: Once you’re in recovery, tap install and navigate to the folder you have copied the SuperSU package, tap to select it and install.
Step 10: Once done, go back to the main menu and reboot system.
Congrats! You have successfully rooted your Sony Xperia ZL on Android 5.1.1 Lollipop.


![How to Update Huawei P8 Lite to B574 Android Marshmallow [ALE-L21C185B574] How to Update Huawei P8 Lite to B574 Android Marshmallow [ALE-L21C185B574]](https://d13porlzvwvs1l.cloudfront.net/wp-content/uploads/2018/03/Update-Huawei-P8-Lite-to-B574-Android-Marshmallow-ALE-L21C185B574.png)


![Download and Install Marshmallow B898 on Huawei P8 Lite [OTA Update] [L21-Vodafone] Download and Install Marshmallow B898 on Huawei P8 Lite [OTA Update] [L21-Vodafone]](https://d13porlzvwvs1l.cloudfront.net/wp-content/uploads/2016/12/Download-and-Install-Huawei-P8-Lite-Marshmallow-B898-OTA-Update-L21-Vodafone.jpg)
