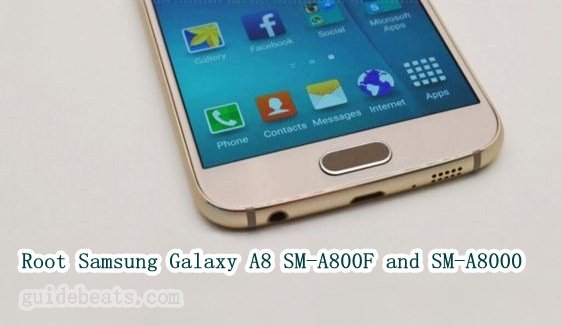
Galaxy A8 the latest and most powerful smartphone of Samsung A series. The device announced recently and is live for sale in almost all markets. Galaxy A8 comprises the Super AMOLED capacitive 5.7-inch touchscreen, 16 MP core camera, 1.8 GHz processor, 2GB RAM, 16/32 GB of internal memory and Wi-Fi. It’s very nice in performance but the users still wishing to enhance the performance and optimize the device. They need to Root Galaxy A8. Today I will guide you on how to Root Galaxy A8 on Android 5.1.1 Lollipop.

Thanks to Chainfire, Root Galaxy A8 with CF-Auto-Root tool is now available. Download the root file and flash it to your device using Odin flash tool. The users of Galaxy A8 can use this easy guide to Root Galaxy A8 on Android 5.1.1. Follow the entire guide stepwise.
DISCLAIMER: Root Galaxy A8 SM-A800F and SM-A8000 only running Android 5.1.1 Lollipop with this tutorial. Don’t try to flash on any other device. Also, by apply this guide and rooting A8 you will lose the warranty of your device. Users have to proceed carefully with their own risk only.
Requirements:
- Backup for all the data on the device is very necessary, before processing.
- Try to use A8 with fully charged battery.
- Download and install the USB driver of Samsung in the PC. [Download here].
- USB Debugging Mode on A8 Galaxy should be enabled. From [Settings > Developer Options]- [Full Guide].
Downloads:
- Download the latest version of Odin Flash tool from here.|Download|
- Downloads CF-Auto-Root for Galaxy A8 SM-A800F here. |Download|
- Downloads CF-Auto-Root for Galaxy A8 SM-A8000 here. |Download|
Steps to root Galaxy A8 SM-A800F or SM-A8000.
- Download Root file particular for your device and Odin from the links. Then extract both files on PC.
- Open Odin extracted folder and right-click on the .exe file, then select “run as administrator” to open Odin flash tool.
- Now turn A8 OFF and boot into “download mode”. Press and hold [Volume-Down+ Home+ Power] at the same time until you see Samsung logo. Then release and press Volume-Up to confirm.
- Once A8 is in download mode, connect it to PC via USB Cable.
- Odin detects A8, ID:COM port turns blue, “Added” text on the box below appears. [Incase it doesn’t detects, then reinstall USB driver or change the USB port]
- After proper connectivity, click “AP” button and choose CF-Auto-Root xxxx.tar.md5 and Load.
- Then check and confirm that “Re-Partition” is not checked. Leave other options as by default.
- Now on Odin screen click “Start” button to proceed flash.
- Wait for flashing and then you will see “PASS” message and A8 reboots.
- Now you can disconnect A8 from the PC.
That’s how to root Galaxy A8 SM-A800F or SM-A8000.


Leave a Comment