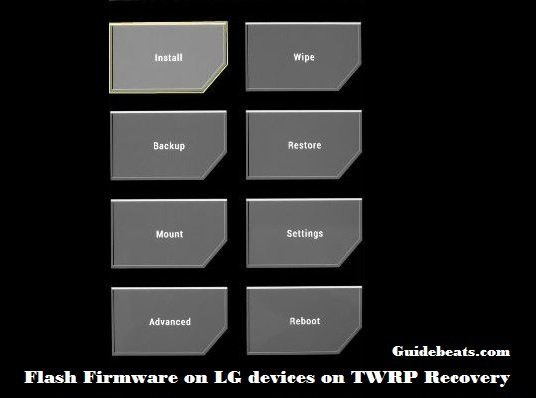
The newest Google smartphone Nexus 5X is now in the use of a lots folks. Google has started shipping of this new smartphone by starting this year. Nexus 5X comes with a pretty nice hardware specs, preloaded with Android 6.0 Marshmallow and an affordable budget. The users who like customization and willing Nexus 5X TWRP Recovery can use this guide. Here are the complete guidelines to install Nexus 5X TWRP recovery.
Nexus 5X users can download the TeamWins recovery TWRP from the link available here. After downloading boot the device in Fastboot mode and issue the commands step by step to Install Nexus 5X TWRP Recovery. This is official TWRP of TeamWins with full functions and operations. You just have to unlock the bootloader of Nexus 5X before going to the TWRP flashing. To unlock the bootloader of Nexus 5X click here.
DISCLAIMER: Use these instructions only to Install Nexus 5X TWRP Recovery. Not for flashing on other devices. Completely use this tutorial on your own responsibility. We have no guarantee for the guidelines.

Preps| Requirements:
- It’s necessary to backup your all important data on the device.
- 50% of battery charge is the minimum requirement for the process.
- The installation of Google or LG USB driver on your PC is mandatory. [Download here].
- In Nexus 5X enable USB Debugging Mode. Go to [Settings > Developer options].
- Also, your device bootloader must be unlocked. [Guide].
- Download and setup the ADB and Fastboot on your computer. [Follow this link].
- Download TWRP Recovery .img file from here. |Download Link|.
Steps to Install Nexus 5X TWRP Recovery
- First download the TWRP .img file specific for your device from the link above.
- Now move the TWRP recovery .img file on the ADB and Fastboot folder on the C:\ drive of your PC.
- Open ADB folder and press shift key+ right click on any black space in that folder. > Next select “Open command window here”.
- When command prompt window opened. > connect your device via USB cable to PC. Issue command “adb reboot bootloader” to Nexus 5X in bootloader mode. Allow permission if prompted.
- Once the device is in bootloader mode. > enter command “fastboot flash recovery twrp-2.8.x.x-xxx.img” to flash TWRP recovery. Edit part “twrp-2.8.x.x-xxx.img” of the command with the original name of the downloaded TWRP .img file.
- After installation of TWRP completes, give command “fastboot reboot” in the command prompt window. That will reboot your device normally with TWRP recovery TWRP.
That’s how to install Nexus 5X TWRP Recovery.
You might also be interested. Root Nexus 5X on Android 6.0 Marshmallow.


![Download and Install Marshmallow B898 on Huawei P8 Lite [OTA Update] [L21-Vodafone] Download and Install Marshmallow B898 on Huawei P8 Lite [OTA Update] [L21-Vodafone]](https://d13porlzvwvs1l.cloudfront.net/wp-content/uploads/2016/12/Download-and-Install-Huawei-P8-Lite-Marshmallow-B898-OTA-Update-L21-Vodafone.jpg)


Leave a Comment