CyanogenMod CM13 Nightly build is a Custom ROM. it’s a stable, light and free of bugs ROM. in respect of performance it is expected very fast and smooth. A number of CyanogenMod 13 custom ROMs has been released yet for various devices by the CM team. Installing CM13 custom ROM will void your device warranty. If you still willing to update Nexus 7 WiFi and LTE 2013 to this ROM then follow this simple and step by step guide, don’t skip any step.
Disclaimer: The guide can be used to Update Nexus 7 WiFi and LTE 2013 to official CyanogenMod 13. Don’t use this on any other device, also we www.guidebeats.com will not be held responsible for any mishaps. Try this on your own risk.
Preparations:
• Properly backup your important data and apps before proceeding.
• You must have a device with at least 70% charged battery.
• You must have to install Google USB driver on your PC. [Click here]
• Enable USB Debugging mode on your device. to do so [Navigate to Settings -> Developer options]
• Your device should have TWRP recovery installed.
• Your device warranty may be void after these installations.
Required downloads:
Download the ROM and Gapps files and transfer it to the device the root folder of internal storage.
Nexus 7 WiFi CM13 ROM -File: [Download Link]
Google Apps for CyanogenMod – Open Gapps [Download Link]
Steps to Update Nexus 7 WiFi and LTE 2013 to official CyanogenMod 13
1) Connect your device to PC via USB cable and transfer both the ROM.ZIP and Gapps.ZIP files on the root folder of device internal storage.
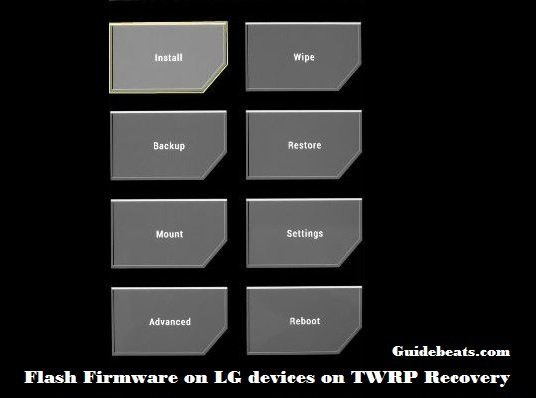
2) Then turn off your device and boot into recovery mode, by [Press and hold volume down and power keys at the same time] until you see the recovery screen.
3) Once you are in recovery mode, backup your existing ROM. On recovery menu, tap on “Backup” and then select all the partitions along with System, Data, Boot, Recovery and EFS, then swipe at the bottom of screen to proceed.
4) Now from main recovery menu select “Wipe” > then tap on advance Wipe, > Then select Dalvik Cache, System, Data and Cache, > then confirm it.
5) After data wiping task, on recovery main menu tap on “Install” option, then browse and select ROM.ZIP for flashing, > Swipe to Confirm it.
6) Then repeat-5 and select Gapps.ZIP file this time for flashing. Swipe to confirm.
7) Once the installations get finished. On recovery menu select “Reboot” to boot your device normally.
8) First time boot up will take a few minutes, be patient.
You’re done! This was how to Update Nexus 7 WiFi and LTE 2013 to official CyanogenMod 13
In case you face any issue, then try to factory reset your device or restore previous ROM.


![How to Update Huawei P8 Lite to B574 Android Marshmallow [ALE-L21C185B574] How to Update Huawei P8 Lite to B574 Android Marshmallow [ALE-L21C185B574]](https://d13porlzvwvs1l.cloudfront.net/wp-content/uploads/2018/03/Update-Huawei-P8-Lite-to-B574-Android-Marshmallow-ALE-L21C185B574.png)


![Download and Install Marshmallow B898 on Huawei P8 Lite [OTA Update] [L21-Vodafone] Download and Install Marshmallow B898 on Huawei P8 Lite [OTA Update] [L21-Vodafone]](https://d13porlzvwvs1l.cloudfront.net/wp-content/uploads/2016/12/Download-and-Install-Huawei-P8-Lite-Marshmallow-B898-OTA-Update-L21-Vodafone.jpg)

I could only get the nano version of opengapps to install. due to the /system partition being small.
Any Google app can be installed from Google play store any time.