Moto G 2nd Gen is the latest version of Moto G; this android smartphone comes with very good and impressive specification and with the much-improved performance, which is got a very stable place in the market. Moto G 2nd Gen has a lot of amazing features, which also made his position stronger, but if you need further enhancement then you should have to customize your device and remove the manufacturer’s settled restrictions from your device. Keep in mind that rooting will void your device warranty.
If you have this smartphone and willing to customize, then Root Moto G 2nd Gen and Install TWRP Custom Recovery on it, Read and apply this guide carefully and I am sure that you will root Moto G 2nd Gen in a few minutes.
Disclaimer: This guide leads to Root Moto G 2nd Gen 2014 & Install Custom Recovery only, don’t try this on any different devices, also we www.guidebeats.com are not to be held responsible if you brick or damaged your device following these instructions, try it on your own risk.
Preparations:
- Backup all the important data on your device prior to start flashing
- You should have your phone battery at least 60% charged
- Install USB Driver for Moto G on your PC [Click here]
- Enable USB Debugging on Moto G. Navigate to [Settings > Developer options > USB Debugging]
- Download and setup Minimal ADB\Fastboot tool on your PC. [Click here]
- Unlock the Bootloader of Moto G. [Click here]
Downloads Required:
Download the TWRP 2.7.1.1 Custom Recovery for Moto G 2014 [Click here]
Download the SuperSU.zip from here and copy it on Moto G phone storage [Click here]
Steps to Root Moto G 2nd Gen 2014 & Install TWRP Custom Recovery
Step-1: Connect Moto G to your PC and boot into bootloader mode by pressing [VolumeDown + Power button] buttons for a few seconds.
Step-2: Now go to the Minimal ADB and Fastboot folder on your PC C drive, (C:\Program Files (x86)\Minimal ADB and Fastboot), here [press and hold Shift and Right Click] on any empty white space in that folder, then select “Open command window here”
Step-3: Now on the command prompt window, enter the following mentioned command;
fastboot flash recovery TWRP2.7.1.1-titan-motog-2014.img
Step-4: After flashing twrp recovery now press Volume Down to select “Recovery” on fastboot menu, and then press Volume Up to confirm your choice to boot into that recovery.
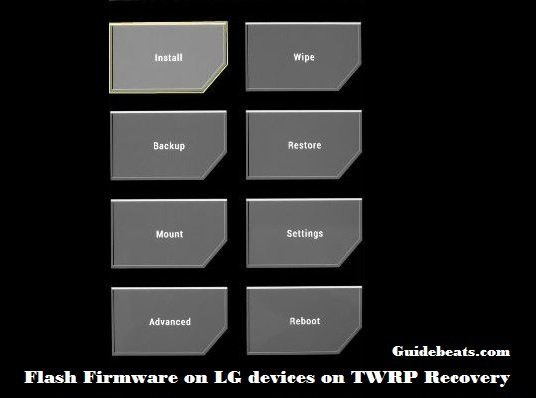
Step-5: Now on recovery menu select “Install”. Then navigate down, find and select the SuperSU.Zip already copied on the phone storage root folder.
Step-6: Now swipe on the bottom of the screen to confirm SuperSU installation, and wait until the flashing gets finished.
Step-7: Now tap on Reboot then System to reboot your device.
That’s it, now on app drawer check SuperSU app. And install root checker from play store to confirm root access.
Cheers! Root Moto G 2nd Gen 2014 & Install Custom Recovery has been done successfully.
in case, there is any query do comment us.


![How to Update Huawei P8 Lite to B574 Android Marshmallow [ALE-L21C185B574] How to Update Huawei P8 Lite to B574 Android Marshmallow [ALE-L21C185B574]](https://d13porlzvwvs1l.cloudfront.net/wp-content/uploads/2018/03/Update-Huawei-P8-Lite-to-B574-Android-Marshmallow-ALE-L21C185B574.png)


![Download and Install Marshmallow B898 on Huawei P8 Lite [OTA Update] [L21-Vodafone] Download and Install Marshmallow B898 on Huawei P8 Lite [OTA Update] [L21-Vodafone]](https://d13porlzvwvs1l.cloudfront.net/wp-content/uploads/2016/12/Download-and-Install-Huawei-P8-Lite-Marshmallow-B898-OTA-Update-L21-Vodafone.jpg)

Leave a Comment