If you are using this device and will to get full control on system file and commands, then follow this step by step tutorial. Here we will show you how to Root HTC Butterfly 3 and Install TWRP Custom Recovery.
Disclaimer: Use this guide to Root HTC Butterfly 3 and Install TWRP Custom Recovery only. Don’t try it on any other device, also we www.guidebeats.com will not be held responsible for any damage, try it on your own risk.
Pre-requisites:
• First of all take a proper backup of your important data on device memory.
• Before proceeding check your device battery that should be more than 70% charged.
• Install USB Driver of HTC on your windows PC. [Click here]
• Enable USB Debugging mode on your device. from [settings > Developer options]
• Also unlock the OEM on your device, if found on [settings > Developer options]
• Use original data cable for smooth and seamless connectivity.
• Your device bootloader must be unlocked to perform such operation. How to?
• ADB and Fastboot driver must be installed on your computer. [How to]
• This will void your device warranty.
Required downloads:
Download TWRP recovery and boot image files package for HTC Butterfly 3 “b3 recovery.zip” [Click here]
Download Latest SuperSU v2.46 “UPDATE-SuperSU v2.46” on your PC and transfer it on your device internal memory root folder. [Click here]
Steps to Root HTC Butterfly 3 and Install TWRP Custom Recovery
1) Connect HTC Butterfly 3 to your PC, and transfer the SuperSU package on the root folder of device internal storage.
2) Now disconnect your device from PC, and Turn it off.
3) Boot your device onto bootloader mode, by [Press and hold Volume down and the power button simultaneously for a few seconds]
4) Now once you see bootloader mode, re-connect your device to PC via USB cable. Select “fastboot mode” if available. You can also use “adb reboot bootloader” command to boot on bootloader mode.
5) Now unzip the “b3 recovery.zip” package containing TWRP and boot image files.
6) Now open that b3 recovery unzipped folder and open command prompt window. By [press and hold shift key+ right click on any empty space of the folder and click on “Open command window here”.
7) Now enter this command “fastboot devices” to check your device connectivity status.
8) Then flash TWRP recovery by entering this command “fastboot flash boot b3twrp.img”
9) After flashing TWRP recovery, boot your device into TWRP recovery mode. to do [press and hold volume down and power keys, or use this command “fastboot boot b3twrp.img”.
10) Once you get TWRP recovery mode, take Nandroid backup of your existing ROM.
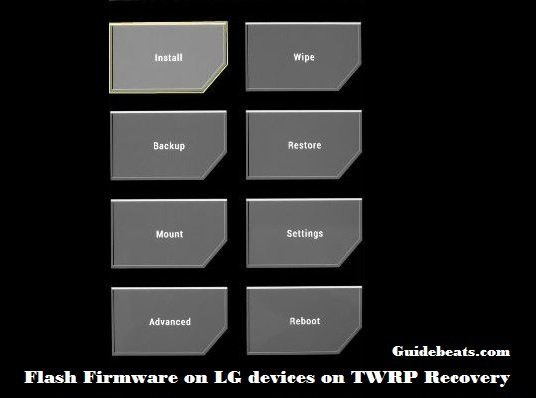
11) After taking backup, on recovery main menu tap on “Install”, then browse and select “SuperSU” file, and “Swipe” at the bottom to confirm.
12) Once flashing SuperSU gets finished. Flash the “boot image” by booting the device and the entering this command > “fastboot flash boot stockboot.img”
13) Once installation gets finished, on recovery menu select “Reboot” to boot system normally.
That’s it.
You’re done! This was how to Root HTC Butterfly 3 and Install TWRP Custom Recovery.


![How to Update Huawei P8 Lite to B574 Android Marshmallow [ALE-L21C185B574] How to Update Huawei P8 Lite to B574 Android Marshmallow [ALE-L21C185B574]](https://d13porlzvwvs1l.cloudfront.net/wp-content/uploads/2018/03/Update-Huawei-P8-Lite-to-B574-Android-Marshmallow-ALE-L21C185B574.png)


![Download and Install Marshmallow B898 on Huawei P8 Lite [OTA Update] [L21-Vodafone] Download and Install Marshmallow B898 on Huawei P8 Lite [OTA Update] [L21-Vodafone]](https://d13porlzvwvs1l.cloudfront.net/wp-content/uploads/2016/12/Download-and-Install-Huawei-P8-Lite-Marshmallow-B898-OTA-Update-L21-Vodafone.jpg)

Leave a Comment