Root access allows you to customize and optimize Google Nexus 9 according to your will. If you hold this device and willing to root then go ahead and apply the step wise guidelines to root Google Nexus 9 on Android 6.0.1. Don’t miss any portion of the tutorial.
Advertisements
DISCLAIMER: you can only use this guide to root Google Nexus 9 on Android 6.0.1 Marshmallow, don’t install on any other smartphone. Also, we www.guidebeats.com and the developer take no responsibility for any miss happening; just try at your own risk.
Preparations| requirements:
- All your important must be backed up prior flashing and kept on the safe store.
- Make sure your device has enough power and charged at least 70%.
- Google USB driver should be installed on your computer, for seamless connectivity. [Download link]
- USB Debugging Mode must be enabled on Google Nexus 9, go to [Settings > Developer options]
- The device warranty will be considered invalid as for unofficial operations.
- Install and setup the ADB/Fastboot drivers on your PC. [HOW]
Required fills | Downloads:
Download the SuperSU file from this link. [Click here]
Download the TWRP recovery on your PC. [Download Link]
Steps to root Google Nexus 9 on Android 6.0.1 Marshmallow build MMB29K
- Connect Google Nexus 9 to your PC via USB cable, then transfer the “SuperSU.ZIP” file on the root folder of the device internal storage.
- Also, move the TWRP recovery file on the ADB folder at C:\ drive on your PC.
- Now unplug the Google Nexus 9 from PC, and then switch it OFF completely.
- Boot the Google Nexus 9 on bootloader mode by [Press and hold Volume Down + Power together until you the bootloader screen].
- Now connect the device again to PC, and Open “ADB folder” on C drive of PC.
- Then on ADB folder press and hold shift Key+ right click on any empty space of that folder and select “Open command window here”
- Once command window opened, enter command “fastboot flash recovery twrp-2.8.7.0-flounder.img” to flash TWRP recovery on the device.
- After flashing, select recovery mode on the menu to enter on TWRP recovery mode.
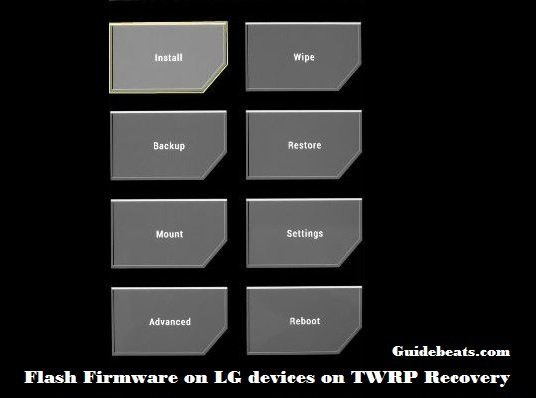
- On recovery menu select “Install” and then select “SuperSU ZIP” file, confirm to flash it.
- Now on recovery menu select “Reboot” to the device normally.
That’s how to root Google Nexus 9 on Android 6.0.1 Marshmallow build MMB29K


![How to Update Huawei P8 Lite to B574 Android Marshmallow [ALE-L21C185B574] How to Update Huawei P8 Lite to B574 Android Marshmallow [ALE-L21C185B574]](https://d13porlzvwvs1l.cloudfront.net/wp-content/uploads/2018/03/Update-Huawei-P8-Lite-to-B574-Android-Marshmallow-ALE-L21C185B574.png)


Leave a Comment