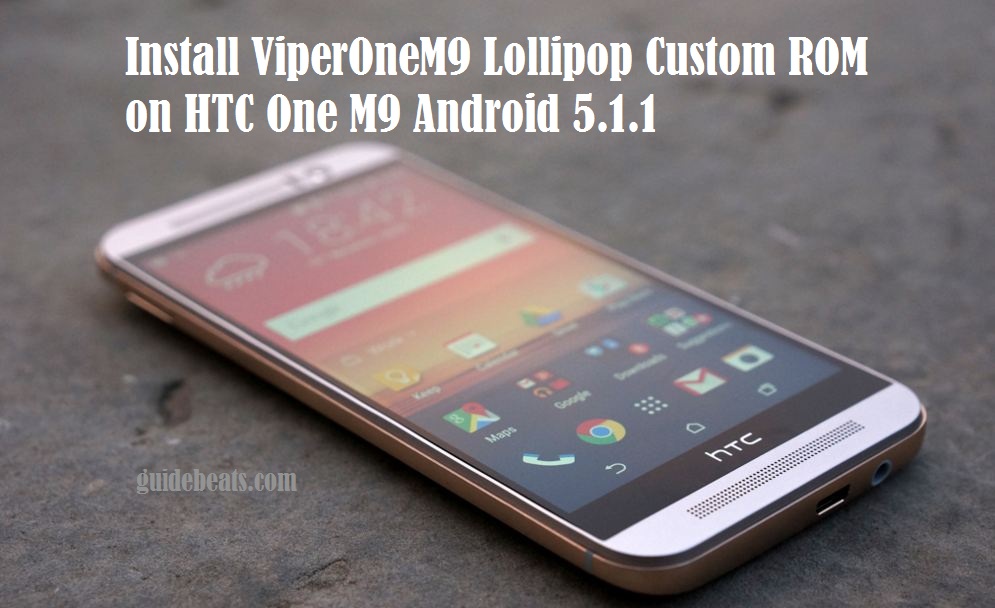
Lollipop Android 5.1.1 ViperOneM9 ROM for HTC One M9 has been developed by viper team and the user of these HTC devices can now flash this custom ROM on their devices, this is a more stable firmware, based on stock firmware 210.4011 and stock kernel. It has a lot of new and improved features, with more enhanced performance and customized options. If you hold this device and willing to update your smartphone HTC One M9 to this ViperOneM9 Android 5.1.1 Lollipop Custom ROM, then this guide is the right place for you, follow the guide to Install ViperOneM9 Lollipop Custom ROM on HTC One M9 Android 5.1.1.
Disclaimer: This guide can be used for HTC One M9 only, don’t apply it on any other device, also we www.guidebeats.com and the developers are not to be held responsible for any damage caused by following these instructions, apply it on your own risk.
Prerequisites:
- Backup your important data on your device first.
- Do charge your device battery at least 70%
- Install USB driver for HTC devices on your PC. [Click here]
- Use an original USB data cable for smooth connectivity
- Enable USB Debugging on your device [Settings > Developer options > USB Debugging]
- Unlock the bootloader of your HTC One M9 first [Click here]
- It is recommended that your device is rooted with custom recovery installed on it.
Downloads required:
- Download and Install Android SDK with full packages on your PC [Click here]
- Download ViperOneM9 custom ROM Android 5.1.1 Lollipop [Click here]
- Download CM 12.1 Gapps (Google apps) for ViperOneM9 Custom ROM [Click here]
Step to Install ViperOneM9 Lollipop Custom ROM on HTC One M9 Android 5.1.1
Step-1: From downloaded ViperOneM9 custom ROM zip file, extract boot.img file separately.
Step-2: Connect HTC One M9 to your PC via USB Cord. And copy the ViperOneM9 ROM.zip and Gapps.zip files on your phone internal storage root folder, [Don’t place/paste on any subfolder]
Step-3: Now Copy the boot.img file to android-sdk-tool\platform-tools.
Step-4: Now unplug the USB cable from your phone. Turn off your phone and then boot into the bootloader mode.
Step-5: Once you are in Recovery Mode, perform a full data wash by selecting “wipe data/factory reset”, also perform Dalvik cache wipe
Step-6: Now while your device is the in the Fastboot mode and connected to PC, navigate to android-sdk-tool\platform-tools and open “Command Prompt”. By [Holding shift key and right click on any empty white space of that folder and selecting Open command window here]
Step-7: Now enter the command “fastboot flash boot boot.img” and hit enter.
Step-8: and select bootloader and go into recovery mode.
Step-9: Now perform cache wash, select “wipe cache partition” on recovery mode.
Step-10: perform wipe Dalvik cache as well. To get rid of boot loops issue. Go to “Advance options” on recovery mode and then select “wipe Dalvik cache”.
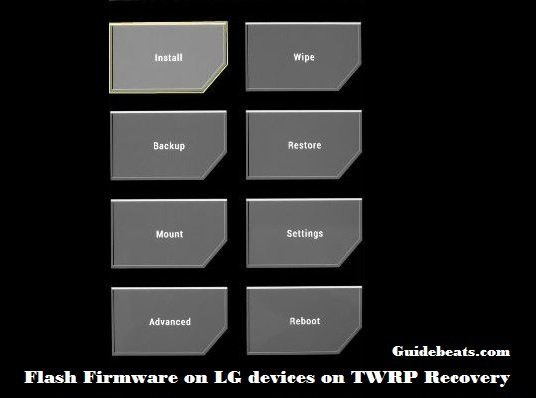
Step-11: Select “go back” to come back into main recovery screen, here select “install zip from SD card”.
Step-12: Now select “choose zip from sdcard”. Use volume keys to navigate up or down, select the Android 5.1.1 ROM zip file that you have copied to your SD card and select it by pressing the Power button. Then confirm on the next screen to start the process.
Step-13: Repeat the step-12 once more, but this time choose the Gapps.zip file for installation that you have downloaded and copied on SD card of your device.
Step 14 – After both the files install successfully, reboot your device by selecting “reboot system now” on the recovery main menu.
Your HTC One M9 Android 5.1.1 boots up and will take about 5 minutes on 1st-time boot after installation.
That it, you have successfully installed ViperOneM9 Lollipop Custom ROM on HTC One M9 Android 5.1.1
Cheers!
In case of any query please post your comments on the discussion section.


![How to Update Huawei P8 Lite to B574 Android Marshmallow [ALE-L21C185B574] How to Update Huawei P8 Lite to B574 Android Marshmallow [ALE-L21C185B574]](https://d13porlzvwvs1l.cloudfront.net/wp-content/uploads/2018/03/Update-Huawei-P8-Lite-to-B574-Android-Marshmallow-ALE-L21C185B574.png)


![Download and Install Marshmallow B898 on Huawei P8 Lite [OTA Update] [L21-Vodafone] Download and Install Marshmallow B898 on Huawei P8 Lite [OTA Update] [L21-Vodafone]](https://d13porlzvwvs1l.cloudfront.net/wp-content/uploads/2016/12/Download-and-Install-Huawei-P8-Lite-Marshmallow-B898-OTA-Update-L21-Vodafone.jpg)
Leave a Comment