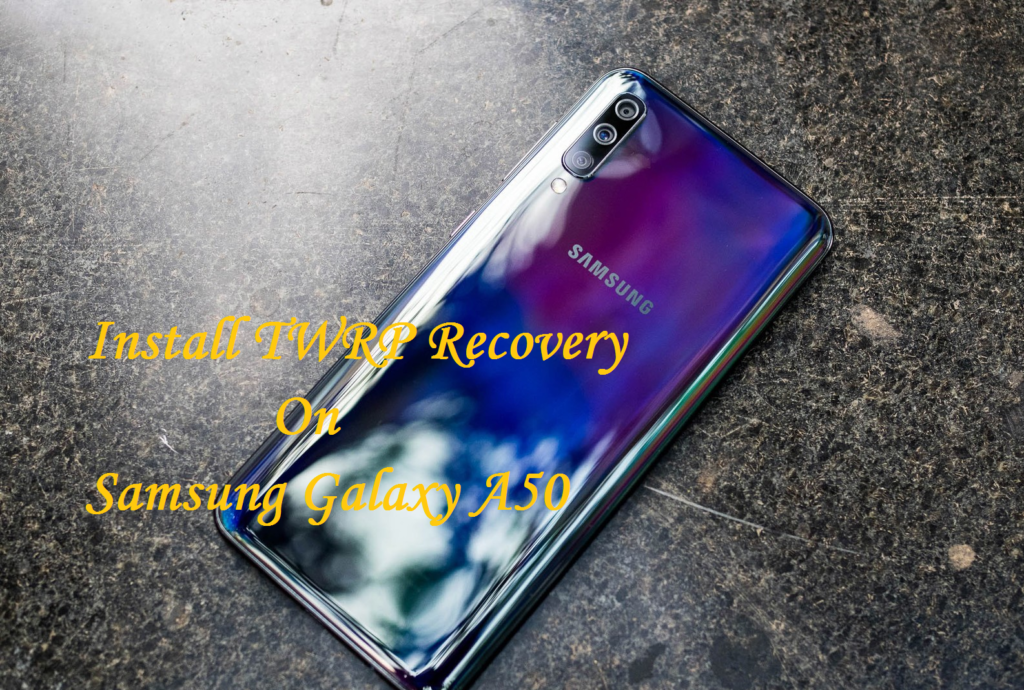
Today in this article I will show you on how to install TWRP Recovery on Samsung Galaxy A50 and root using Magisk/ SuperSU. All thanks to the XDA Senior Member geiti94 for sharing the working TWRP custom recovery for Samsung Galaxy A50. Now you can follow the given below easy steps and install the latest TWRP recovery on Samsung Galaxy A50. Once you can install TWRP custom recovery then you will be able to root Samsung Galaxy A50 using Magisk/ SuperSU. TWRP is also known as the Team Win Recovery Project. It is one of the most used in all over the world and became popular among the Android market. There are many advantages of installing the TWRP custom recovery.

Once you can install TWRP Recovery on Samsung Galaxy A50, then you can flash any custom firmware, Create and Restore Nandroid Backup, Flash mods zip & Xposed modules files to customize their phone, Access to restore the Nandroid Backup and much more. Given below we share a simple and easy detailed guide on how to install TWRP Recovery on Samsung Galaxy A50 and root using Magisk/ SuperSU.
Rooting the device means you want full control of your Android device or you want the superuser rights of Android phone. So if you are the Samsung Galaxy A50 users and want to customize your device beyond the limits, then rooting your device is the first priority. After rooting you can break all the restrictions and use your device with maximum power. Also, you will be able to install custom Rom, apps, and setting in your phone.
In this tutorial, we will learn you on how to root Samsung Galaxy A50 using Magisk/ SuperSU. If this is your first time, then no need to worry about that. Follow the given instructions carefully and install TWRP Recovery on Samsung Galaxy A50 and root using Magisk/ SuperSU. Before proceeding we are highly recommended to take the proper backup of all your entire phone data.
Required Files:
- Download Latest Odin Tool
- Samsung Galaxy USB Drivers.
- Download TWRP Recovery for Galaxy A50
- Magisk-v17.3.zip
- SuperSU v2.82.1
Step to Install TWRP Recovery on Samsung Galaxy A50 :-
- Start with enabling ‘USB debugging’ and ‘OEM Unlock’ option from setting>developer option.
- Next, For enabling Developer Options, go to About phone and click the Build Number 7 times.
- Now you need to download the latest TWRP recovery for your device.
- You need to download the ODIN TOOL and extract the zip file.
- Next, run the Odin_v3.10.7.exe file on your PC.
- Now connect your Galaxy A50 to your PC using a data cable and reboot into the Download/Odin mode.
- For entering download mode turn off your phone and press and hold the ‘Home + Volume Down + Power’ buttons together till the download screen appear.
- When you will enter the download Mode you will see ID: COM port turned blue. A message will be added in Odin message box. It is the device recognition in Odil Tool.
- If ID COM Don’t appear that means your driver is not correctly installed.
- Next, locate and add the twrp-3.0.0-xxx.img.tar file downloaded previously to the AP/PDA tabin Odin.
- Assure that the following options are tick “Auto Reboot” and “F.Reset Time.“
- Now click ‘Start‘ button and it will start flashing the file. You will see ‘Pass‘ in Green Color on the Odin screen. It will install the TWRP recovery on your device.
- Your device will automatically reboot.
Step To Root Samsung Galaxy A50 Using Magisk/ SuperSU :
Full Guide to Root Galaxy A50 with SuperSU
Full Guide to Root Galaxy A50 with Magisk
Done: You successfully install TWRP custom recovery and root Galaxy A50. If you have any query or issue feel free to contact us via comment area or FB Fan Page. GuideBeats


![Download and Install Huawei P8 Lite B560 Marshmallow Firmware [ALE-L21] [Middle East] Download and Install Huawei P8 Lite B560 Marshmallow Firmware [ALE-L21] [Middle East]](https://d13porlzvwvs1l.cloudfront.net/wp-content/uploads/2016/10/Download-and-Install-Huawei-P8-Lite-B560-Marshmallow-Firmware-ALE-L21-Middle-East.jpg)
![Install Huawei Watch Sturgeon M6E69F Marshmallow [OTA Update] Install Huawei Watch Sturgeon M6E69F Marshmallow](https://d13porlzvwvs1l.cloudfront.net/wp-content/uploads/2016/09/Install-Huawei-Watch-Sturgeon-M6E69F-Marshmallow-OTA-Update.jpg)
![Download and Install Honor 6 Plus B571 Marshmallow Firmware [EMUI 4.0.1] [Europe] Download and Install Honor 6 Plus B571 Marshmallow Firmware](https://d13porlzvwvs1l.cloudfront.net/wp-content/uploads/2016/09/Download-and-Install-EMUI-4.0.1-B571-Marshmallow-Firmware-on-Honor-6-Plus-Europe.jpg)
![How to Install Honor 4X B561 Marshmallow Full Firmware [Che2-L11] Install Honor 4X B561 Marshmallow Full Firmware [Che2-L11]](https://d13porlzvwvs1l.cloudfront.net/wp-content/uploads/2016/09/How-to-Install-Honor-4X-B561-Marshmallow-Full-Firmware-Che2-L11.jpg)
![How to Install Honor 4C B560 Marshmallow Official Updates [CHM-U01] How to Install Honor 4C B560 Marshmallow Official Updates [CHM-U01]](https://d13porlzvwvs1l.cloudfront.net/wp-content/uploads/2016/09/Download-and-Install-B560-Official-Marshmallow-Firmware-on-Honor-4C-Middle-East.jpg)

Leave a Comment