Google Nexus 6P the latest flagship of Google in the Nexus series smartphones, recently released about a month ago this year. Google made this smartphone with Huawei a well know company of china. Nexus 6P comes out of the box with Android 6.0 Marshmallow already loaded. Google Nexus 6P is a good combination of latest technology and the new version of Android 6.0 Marshmallow; overall its performance is very good and stable. But you can more improve the performance of this device by customization of its operating system. If you have bought this smartphone and now you want to customize your device and want to install TWRP Recovery on Google Nexus 6P, then this guide is very much helpful for you. Follow this guide and install TWRP recovery on Google Nexus 6P in few minutes.
Disclaimer: This tutorial is to Install TWRP recovery on Google Nexus 6P only, don’t try on any other device, also we www.guidebeats.com and the developers are not to be held responsible for any damage caused by following this guide, try it on your own risk.
Preparations:
- Unlock the bootloader of Google Nexus 6P before going to install TWRP recovery
- Properly backup all your important data on your phone before to start installation TWRP recovery.
- Install the Huawei USB Drivers on your PC. [Click here]
- Enable USB Debugging Mode on your Nexus 6P [Settings > Developer options > USB Debugging]
- Your phone battery should be at least 60% charged.
- Installing a custom recovery will void the warranty of your device
- Download and setup Minimal ADB/ fastboot flash tool on your computer [Click here]
- Download the TWRP recovery file on your PC. Rename the file as “twrp-recovery.img” [Click here]
Steps to Install TWRP recovery on Google Nexus 6P
Step-1: Turn off your Google Nexus 6P completely by holding the Power key.
Step-2: Now boot Google Nexus 6P in bootloader mode by [holding Volume Down + Power keys together] until you see some text on your device display.
Step-3: Now connect Google Nexus 6P to your computer via the USB cord.
Step-4: Now on your computer open Minimal ADB/Fastboot folder (C\Program files (x86)\Minimal ADB).
Step-5: Now hold the shift key pressed and right-click on an empty white space on that folder, Then click on open command window here from the menu.
Step-6: Now enter the command “fastboot devices” in the command prompt window.
- This will display a list of connected devices to your PC. Here check your phone, if not listed then re-install the USB drivers again or change the USB port.
Step-7: Now properly type the following command on command prompt window. And hit enter
“fastboot flash recovery twrp-recovery.img”
- Where “twrp-recovery.img” is the name of the recovery file that you have downloaded in preparations section.
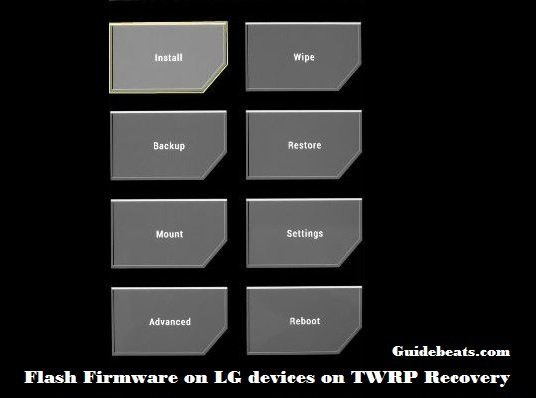
Step-8: Now you should see the fastboot menu on the Google Nexus 6P display, choose the recovery option from the fastboot menu to enter the TWRP recovery.
Step-9: Now that you are in the TWRP recovery, tap on reboot and the system to boot into normal mode.
That’s it.
Cheers! To install TWRP recovery on Google Nexus 6P on Android 6.0 Marshmallow has been done successfully.


![How to Update Huawei P8 Lite to B574 Android Marshmallow [ALE-L21C185B574] How to Update Huawei P8 Lite to B574 Android Marshmallow [ALE-L21C185B574]](https://d13porlzvwvs1l.cloudfront.net/wp-content/uploads/2018/03/Update-Huawei-P8-Lite-to-B574-Android-Marshmallow-ALE-L21C185B574.png)


![Download and Install Marshmallow B898 on Huawei P8 Lite [OTA Update] [L21-Vodafone] Download and Install Marshmallow B898 on Huawei P8 Lite [OTA Update] [L21-Vodafone]](https://d13porlzvwvs1l.cloudfront.net/wp-content/uploads/2016/12/Download-and-Install-Huawei-P8-Lite-Marshmallow-B898-OTA-Update-L21-Vodafone.jpg)

Leave a Comment