Nexus devices are the first series that received the Android 6.0 Marshmallow and now you can root your nexus 9 device. In this post, we will show how to install TWRP recovery and root Nexus 9 on Android 6.0 Marshmallow with the build number MRA58N. Once your Google Nexus 9 root then you can easily install all of the apps that need root access.
If you have Google Nexus 9 and want to root so you are in right place with this tutorial you can easily root your Nexus 9 device. So let’s start the step by step procedure.
Disclaimer: The guide can be used to root Nexus 9 on Android 6.0 MRA58N Marshmallow factory image on build MRA58N, don’t use it on any other device, also we www.guidebeats.com are not responsible if you damaged or brick your device, try it on your own risk.
Prerequisites:
- Properly backup yours phone data before starting the flash process
- Do charge your device battery at least 70%
- Use an original data cable for smooth connectivity of your device with PC.
- Download and install universal USB driver for Nexus on your PC: Link
- Enable USB Debugging Mode [Settings => Developer options => USB Debugging].
- TWRP recovery must be installed on your device.
- Root is an unofficial task so you will lose your device warranty.
Steps To Install TWRP Recovery On Google Nexus 9 running Android 6.0:
Step 1. Download the TWRP recovery for the Google Nexus 9: Link
Step 2. Setting up ADB & fastboot on your computer: Windows | MAC
Step 3. Completely power off the Google Nexus 9 device by holding down the Power key until it’s off.
Step 4. Now Reboot the Nexus 9 by holding the Power + Volume Down buttons.
Step 5. Once your device is in the bootloader mode, connect it to the PC via the USB data cable.
Step 6. From within the same folder as your ADB and Fastboot, right-click the mouse button and hold down the Shift key on the keyboard to bring up a new menu on the PC.
Step 7. Now Select the “open new command window here” from that new menu.
Step 8. Type the following command:
fastboot flash recovery twrp-2.8.7.0-flounder.img
Step 9. Now select the recovery Mode option from the Fastboot menu and your Nexus device will boot into the custom recovery you just installed. Now you can root your Nexus 9 device.
Steps To Root Google Nexus 9 On Android 6.0 Marshmallow:
Step 1. Download the SuperSU zip file: Link
Step 2. Now connect your Google Nexus 9 device to the PC and transfer the downloaded SuperSU file over to the root folder of the SD card internal storage.
Step 3. Now disconnect your Nexus 9 from the computer once you see the SuperSU file is on the SD card.
Step 4. Turn off the device and reboot by pressing the Power + Volume Up + Home buttons until you get the bootloader menu. Change the Start text to the Recovery Mode option.
Step 5. Now Press the Power button to select that Recovery option and the TWRP recovery will now boot up on your tablet.
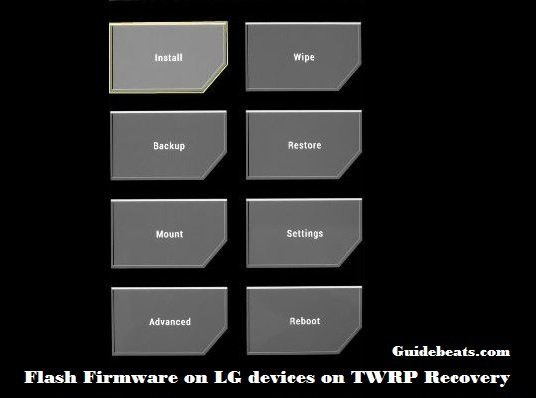
Step 6. Now that you are all in the recovery mode, navigate to the Install option from the TWRP menu.
Step 7. Now Browse the SD card and upload the SuperSU zip file.
Step 8. Once the SuperSU file is flashed on your device, go back to the main recovery menu and select the “Reboot System Now”.
Congrats! You’ve successfully rooted your Google Nexus 9 device running Android 6.0. You can confirm your device is properly rooted by installing root checker app available on the Google Play Store.


Leave a Comment