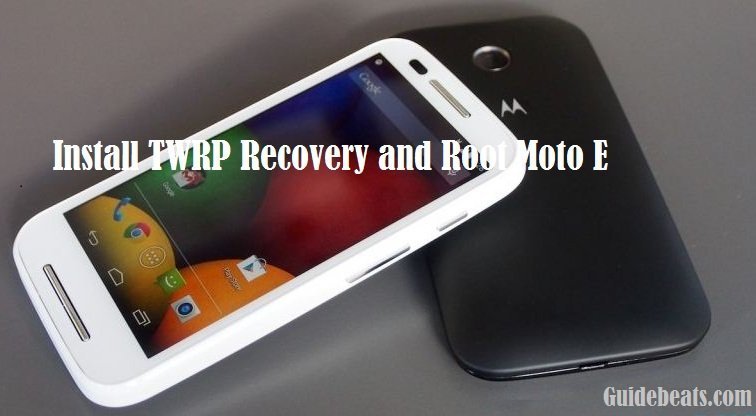
Moto E is a mid-range device that came out with impressive specification and very decent performance system, and on an affordable cost. As all android devices are easily customizable and enhance performance by performing some unofficial operations. Among these unofficial operations gaining root access and installing custom recovery are the initial steps, as by these you can get full control and admin right on your device internal system. But keep in mind that it is an unofficial task so you will lose your device warranty.
Now if you are a user of Moto E and you willing to improve the performance of your device, then you will need to customize or optimize your device android OS, by gaining root access and installing custom recovery like TWRP etc. These are necessary to perform other custom operations like to install custom ROMs, install custom apps, uninstall bloatware, install custom kernel, and add a lot of new features.
Today in this tutorial we will guide you that how you can Install TWRP Recovery and Root Moto E Smartphone, follow the complete guide, don’t skip any step.
Disclaimer: this tutorial is only for Moto E, don’t try it on any other device, also we www.guidebeats.com are not held responsible for any damage caused by these instructions, try it on your own risk.
Preparation:
- Charge your phone battery at least 70%
- Backup your phones data first and save it on your PC
- Use an original USB data cable for smooth connectivity.
- Install USB driver for Moto E smartphone on your PC [Click here]
- Enable USB Debugging on your device [Setting > Developer Options > USB Debugging]
- Temporarily disable antivirus, firewall
Downloads Required:
- Download Fastboot file for Moto E, and extract the .zip folder on your PC [Click here]
- Download TWRP recovery file and Rename the file by recovery.img then extract and move to Fastboot folder. [Click here to download]
- Download the SuperSU file and copy it to the root internal memory of your device. [Click here]
Steps to Install TWRP Recovery and Root Moto E Smartphone
Step-1: Now you have to unlock the bootloader of your device.
Step-2: Now connect your phone to your PC via USB cable and Reboot your phone to Fastboot/ bootloader mode [by pressing Volume Down + Power button for a while]
Step-3: Go to the Fastboot folder that you have already downloaded > [press and hold Shift key + Right Click on any empty space in that folder > Select Open a command window here.
Step-4: Now on the command prompt window enter the below command.
“fastboot flash recovery.img”
Step-5: Use Volume-down button to select recovery file on fastboot menu, then press Volume-Up to confirm your installation and to boot into recovery
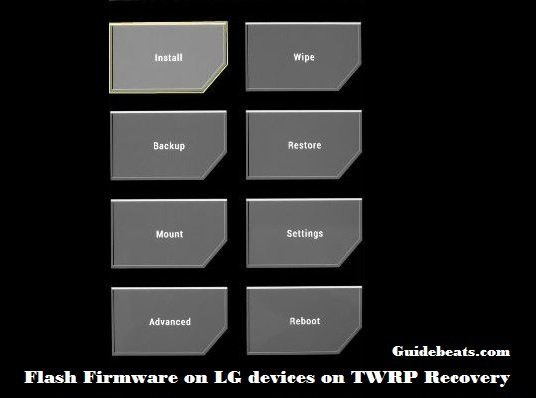
Step-6: Now press the power button and select Swipe to unlock’ to start touch working again! > then Select Install, scroll down and find the SuperSU.Zip file
Step-7: Now Swipe to confirm, and wait until the flashing SuperSU complete and then select reboot. First reboot will take a few minutes.
Now check phone drawer and find SuperSU app installed. Now install root checker from Google play store to check root status
Cheers! Your device is rooted
in case of any query do comments us.


![How to Update Huawei P8 Lite to B574 Android Marshmallow [ALE-L21C185B574] How to Update Huawei P8 Lite to B574 Android Marshmallow [ALE-L21C185B574]](https://d13porlzvwvs1l.cloudfront.net/wp-content/uploads/2018/03/Update-Huawei-P8-Lite-to-B574-Android-Marshmallow-ALE-L21C185B574.png)


![Download and Install Marshmallow B898 on Huawei P8 Lite [OTA Update] [L21-Vodafone] Download and Install Marshmallow B898 on Huawei P8 Lite [OTA Update] [L21-Vodafone]](https://d13porlzvwvs1l.cloudfront.net/wp-content/uploads/2016/12/Download-and-Install-Huawei-P8-Lite-Marshmallow-B898-OTA-Update-L21-Vodafone.jpg)

Leave a Comment