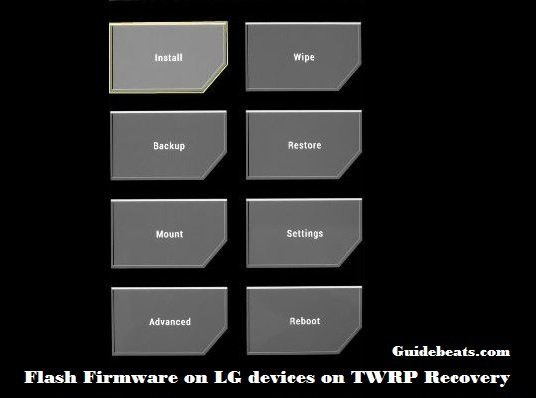
TWRP recovery has some advanced options and touched UI. You can install TWRP on any android device. If you willing to install Custom ROM using TWRP Recovery then follow this easily guide step by step.
Advertisements
DISCLAIMER: This guide can be used to install custom ROM using TWRP Recovery. We www.guidebeats.com takes no responsibility for any damage, try at your own risk.
Preparations.
- First check the battery charging status of your device that should be 70% or above.
- Backup all your important data on the device and store it safely.
- Install USB driver specific for your device manufacturer on your PC. [download here].
- Enable USB Debugging Mode on your device. [from Settings > Developer options].
- Use original data cable for smooth and seamless connectivity.
- Install TWRP custom recovery on your device, if you haven’t already installed. [click here].
- Download Custom ROM.ZIP file that you wants to install on your device. [do googling].
Steps to install Custom ROM using TWRP Recovery.
- Connect your device to PC via USB cable and then copy the downloaded ROM ZIP file on the device root folder. [Don’t unzip].
- Then disconnect the device from PC and turn off completely.
- Once your device is off, boot it into TWRP recovery mode. [with button combination]
- Then on recovery main menu select “Wipe” and then do “Swipe” at the bottom of the screen of confirm.
- Come back to TWRP main menu. Tap on “Install” and select the ROM zip file that you have copied on the device.
- After select ROM ZIP file, do “Swipe” at the bottom of the screen, to confirm ROM flashing. Wait for a few minutes.
- After flashing ROM, select “Advance” option and then select “Wipe Cache and Wipe Dalvik” and confirm with Swipe at the bottom.
- Finally, come back to recovery main menu, and select “Reboot” to boot your device normally.
That’s how to install Custom ROM using TWRP Recovery.


![Download and Install Marshmallow B898 on Huawei P8 Lite [OTA Update] [L21-Vodafone] Download and Install Marshmallow B898 on Huawei P8 Lite [OTA Update] [L21-Vodafone]](https://d13porlzvwvs1l.cloudfront.net/wp-content/uploads/2016/12/Download-and-Install-Huawei-P8-Lite-Marshmallow-B898-OTA-Update-L21-Vodafone.jpg)


Leave a Comment