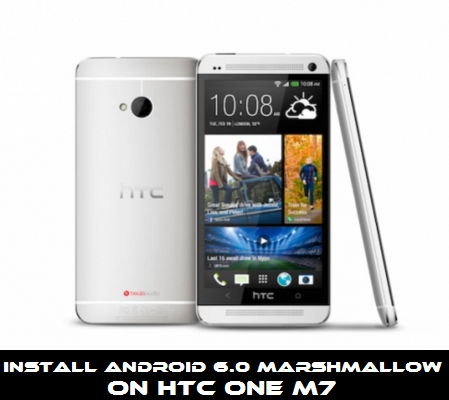
Nowadays a lot of Android devices have been receiving the CM 13 custom ROM based on the latest Android 6.0 Marshmallow version that was recently released by Google. And now HTC One M7 received the new Android 6.0 Marshmallow. This is the unofficial release from CyanogenMod community and users are getting some bugs. But some basic functions can be seen running perfectly.
If you have HTC One M7 and want to update so you will need to setup TWRP onto your One M7 and then flash the ROM and Google Apps. In this post, we will guide you how to install Android 6.0 Marshmallow on HTC One M7. If you are serious for updating then follow the steps below.
Advertisements
Disclaimer: This tutorial is for HTC One M7 AT&T, T-Mobile variants only, don’t try this on any other device, also we www.guidebeats.com and the developers are not to be held responsible for any damage caused by following this guide, try it on your own risk.
Prerequisites:
- Take a proper backup of all your important data on your device first.
- Your device battery should have at least 70% charge
- Install USB driver for your HTC One M7 on your PC. [Click here]
- Use an original or good quality USB data cable for smooth connectivity
- Enable USB Debugging on your device [Settings > Developer options > USB Debugging]
- It is mandatory that your device is rooted with custom recovery installed on it.
Steps to Install Android 6.0 Marshmallow on HTC One M7:
- First of all, download the
CyanogenMod 13 ROM fileand theGoogle Apps fileon your computer. - Connect your device to the computer via USB date cable.
- Now move the both zip files into your device’s internal storage.
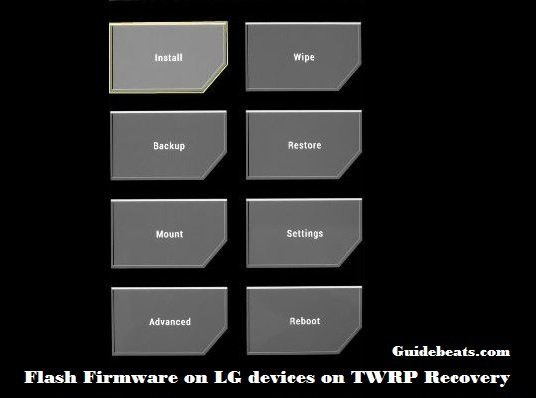
- Now reboot into Custom Recovery (like TWRP). To boot into TWRP, [ Turn off your device and then press & hold volume down and power buttons at the same time]. If you see the TWRP logo, that means you’ve successfully booted into the recovery.
- Now backup your stock ROM, tap on backup option in TWRP main menu and select the following elements: System, Data, Boot, Recovery, EFS and swipe right where appropriate, to backup.
- Once your ROM backup done, return to the TWRP main menu and tap the wipe button and select Advanced Wipe then select Dalvik Cache, System, Data, and Cache. Now swipe the confirmation button to backup.
- Now head back to the TWRP main menu or home screen and tap on the install option. Navigate to the ROM file that you transferred in step 2 and select it.
- Swipe the confirmation button to proceed the installation. The ROM will be installed.
- Now return to TWRP main menu and tap on the install option. Navigate to the Google apps zip file and just select it.
- Swipe the confirmation button to proceed the installation. Once the Google apps installed, reboot system now. The first boot up will take about 5 to 10 minutes.
- That’s it, you see the new boot logo, that means you’ve successfully installed the Android M ROM on your HTC One M7.


![How to Update Huawei P8 Lite to B574 Android Marshmallow [ALE-L21C185B574] How to Update Huawei P8 Lite to B574 Android Marshmallow [ALE-L21C185B574]](https://d13porlzvwvs1l.cloudfront.net/wp-content/uploads/2018/03/Update-Huawei-P8-Lite-to-B574-Android-Marshmallow-ALE-L21C185B574.png)
![Download and Install Marshmallow B898 on Huawei P8 Lite [OTA Update] [L21-Vodafone] Download and Install Marshmallow B898 on Huawei P8 Lite [OTA Update] [L21-Vodafone]](https://d13porlzvwvs1l.cloudfront.net/wp-content/uploads/2016/12/Download-and-Install-Huawei-P8-Lite-Marshmallow-B898-OTA-Update-L21-Vodafone.jpg)
Leave a Comment