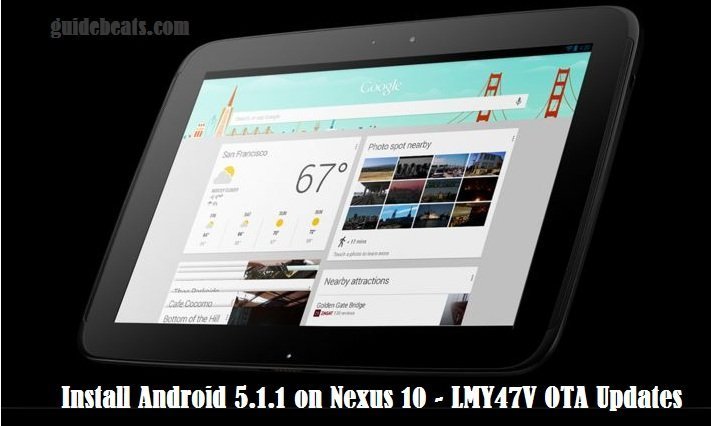
Finally Android 5.1.1 Lollipop LMY47V Updates for Google Nexus 10 has been released, and pushed towards most of the regions through OTA, but still some regions didn’t receive this official updates, and the users of these regions feeling restless, if you are one from those regions and you cannot wait for the OTA notifications and willing to install Android 5.1.1 on Nexus 10 manually, then stay with us and follow the complete guide.
In this tutorial we are using adb-sideload procedure to manually install Android 5.1.1 on Nexus 10 tablet, these updates can be flashed on those devices that have stock firmware, and running on Android 5.1 LMY47D version only not on any other firmware, if you have stock firmware only then use this tutorial.
Disclaimer: use this tutorial to install Android 5.1.1 on Nexus 10 previously running on Android 5.1 LMY47D version only, don’t apply on any other device, also we guidebeat.com are not to be held responsible for any damage, try it on your own risk.
Prerequisites:
- First verify that your device is running on Android 5.1 LMY47D, from [Settings> About Device> Build Number]
- Enable USB Debugging on your device from [Settings > Developer Options]
- Your device’s battery charge level should be at least 60%
- Install UBS Driver on your PC for Google Nexus [Click here]
- Backup your important data on your device first
Downloads required:
Download and Setup the Android SDK with full packages on your PC. [Click here]
Download Android 5.1 LMY47V firmware upgrade zip from [Click here]
- Rename the downloaded updates file to “update.zip”.
Guide to install Android 5.1.1 on Nexus 10 – LMY47V OTA Updates Manually
Step-1: Next locate the ‘platform-tools’ folder under the SDK directory on your PC, C drive and leave it Open.
Step-2: Now move the “update.zip” already downloaded and renamed file in the ‘platform-tools‘ folder
Step-3: Power off your tablet completely, and then boot the Nexus 10 in Recovery Mode (by keys combination)
Step-4: Now select the option “apply update from adb”
Step-5: Now go to ‘platform-tools’ folder and open command prompt window [hold shift Key and right click on any empty space on platform-tools‘ folder and then click on Open command window here]
Step-6: Now connect your device to your PC via USB data cable, and verify your device connection to the PC, by typing “adb devices” command, on command prompt window.
Step-7: Then type and enter the following command to start installation
“adb sideload update.zip”
Step-8: Next confirm the installation and wait for its completion
Step-9: After installation gets finished, Reboot your device, to boot up your device normally on new flashed updated firmware.
That’s it,
You’re done! This was how to install Android 5.1.1 on Nexus 10 – LMY47V OTA Updates Manually
For further inquiries please comment us.


![How to Update Huawei P8 Lite to B574 Android Marshmallow [ALE-L21C185B574] How to Update Huawei P8 Lite to B574 Android Marshmallow [ALE-L21C185B574]](https://d13porlzvwvs1l.cloudfront.net/wp-content/uploads/2018/03/Update-Huawei-P8-Lite-to-B574-Android-Marshmallow-ALE-L21C185B574.png)

Leave a Comment