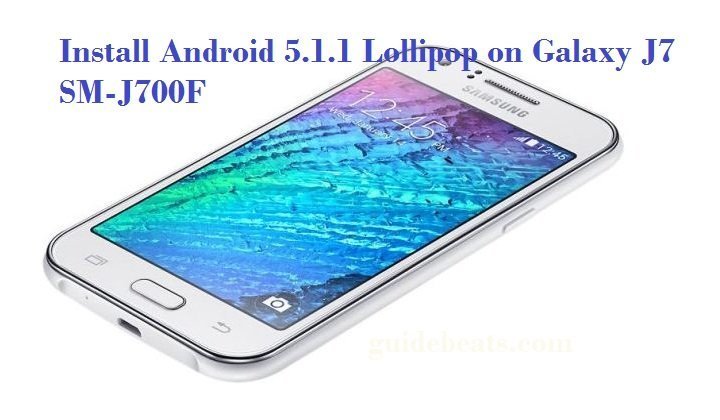
Galaxy J7 is one of the latest flagship smartphone of Samsung released in the mid-2015, it comes with much more impressive hardware specification as compared to the cost, the Galaxy J7 is specially designed for Asian market to counter the other small manufacturers, the device comes with a 5.5 inch Super AMOLED display, 13 MP of primary camera and 5 MP front camera, 5 GB of RAM powered by 1.5GHz octa-core Samsung Exynos 7580 processor, 8 GB of internal storage extendable to 128 GB sd card, 3000mAh removable battery with a combination of android 5.1 version, the device is much perfect and user-friendly.
Samsung Galaxy J7 already running on lollipop firmware, but now the final lollipop android 5.1.1 has also rolled out by Samsung to enhance the device and improve the firmware with a some new and amazing features,
If you don’t wait for the OTA notifications and want to install Android 5.1.1 Lollipop on Galaxy J7 SM-J700F, on your device manually, then your at the right place, follow the hold guide step by step.
Disclaimer: This guide is to install Android 5.1.1 Lollipop on Galaxy J7 SM-J700F only, don’t use the tutorial on any other device.
Preparations:
- Backup your important data on your device
- Your device should have at least 70% charge,
- Install the Samsung USB driver on your device for seamless connectivity [Click here]
- Enable USB Debugging Mode on your device before proceeding [Settings > Developer options]
Downloads required
Download firmware J700FXXU1AOJ3 official ROM [Click here]
Download latest Odin tool on your PC [Click here]
Steps to install Android 5.1.1 Lollipop on Galaxy J7 SM-J700F
- On your PC run Odin.exe file tool and then Turn off your device
- Now boot your Galaxy J7 in downloading mode, by [Press and hold Volume Down + Home + Power buttons together] then press volume up button to confirm downloading mode.
- Now plug in USB data cable to your device and PC, to get connected Galaxy J7 to your PC.
- Now check ID:COM status on the Odin screen for connectivity status, if ID:COM turns green or blue then go ahead or try to reinstall USB driver if ID:COM doesn’t turn green
- After proper connection, tap on AP button and locate the downloaded firmware folder and select .tar.md5 file and press OK
- After loading .tar.md5 file, check Auto Reboot and F Reset options only and then click on Start button to start flashing the updates
- Wait for installations process to complete and PASS message appears on the Odin screen.
- Your phone will now reboot and will take more time than usual to boot into the newly installed firmware
Cheers! Now your device is updated and running on Android 5.1.1 Lollipop firmware
That’s it, this was how to install Android 5.1.1 Lollipop on Galaxy J7 SM-J700F


![How to Update Huawei P8 Lite to B574 Android Marshmallow [ALE-L21C185B574] How to Update Huawei P8 Lite to B574 Android Marshmallow [ALE-L21C185B574]](https://d13porlzvwvs1l.cloudfront.net/wp-content/uploads/2018/03/Update-Huawei-P8-Lite-to-B574-Android-Marshmallow-ALE-L21C185B574.png)
![Download and Install Marshmallow B898 on Huawei P8 Lite [OTA Update] [L21-Vodafone] Download and Install Marshmallow B898 on Huawei P8 Lite [OTA Update] [L21-Vodafone]](https://d13porlzvwvs1l.cloudfront.net/wp-content/uploads/2016/12/Download-and-Install-Huawei-P8-Lite-Marshmallow-B898-OTA-Update-L21-Vodafone.jpg)
Leave a Comment