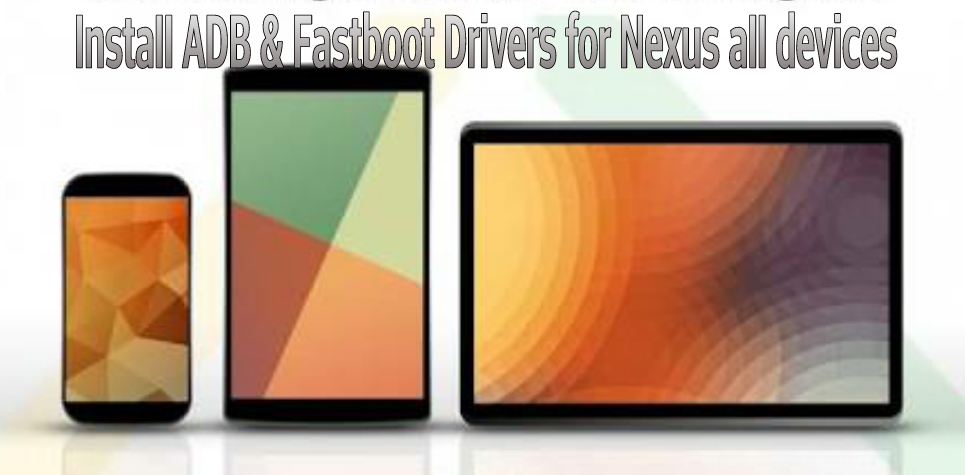
ADB and Fastboot are the two necessary tools for connecting and make communication between any android device and your windows or Mac operating system. Once you installed and setup these drivers on your PC with Nexus device and unlock the bootloader of your device, then you can root your nexus device, Install custom ROMs and Custom Recovery. First of all you should have to install ADB and Fastboot Drivers for Nexus.
If you are using any Google Nexus device and searching to Install ADB and Fastboot Drivers for your Nexus on your computer, then this guide will be very helpful to you. Follow the steps mentioned below one by one which includes some downloading and installation process.
Disclaimer: This guide can be used to Install ADB and Fastboot Drivers for Nexus only, don’t try for other devices, also note that your device warranty may be void. We www.guidebeats.com won’t be liable for any damage during or after the process. Try it at your own risk.
Preparation:
- Enable USB Debugging Mode on your Nexus device before proceeding. Go to [Settings > Developer options > Enable USB debugging].
- If you didn’t find Developer options, then go to [settings >about phone > tap on build number more than seven time > check Developer options].
- Use original USB data cable for seamless connectivity.
- Download the latest Google Nexus USB driver on your PC, and extract it. [Click here]
Steps to Install ADB and Fastboot Drivers for Nexus
Step1– Connect your Nexus device to your PC via USB cable.
Step2– Now on your PC, right click on My computer, and select Manage, then click on Device Manager, and then find out your Nexus device on the list with yellow exclamation.
Step3– Then right click on the Nexus device with yellow mark, and select “Update Driver Software”.
Step4– Now on the popup window, select “Browse my computer for driver software”.
Step5– Now on the next popup windows, click on the “Browse button”, and then locate and select the Google USB driver that you have already downloaded on the preparation section. Also check the “Include subfolders” Box, and hit Next button, and allow permission to install the driver.
Step6– Once the installations get finished, go to Device Manager and check your Nexus device on the list, that will be listed as “Android Composite ADB Interface”.
Installing Fastboot Drivers for Nexus:
Step1– Enable USB Debugging Mode on your device.
Step2– Then switch off your Nexus device, and then boot into Bootloader/ Fastboot Mode, By press and hold [Volume Up Key + Volume Down + Power button] togather until you see Bootloader Mode on device screen.
Step3– Once your device on the Bootloader Mode connect it with your PC, and the PC will automatically recognize and install the right Fastboot drivers on your PC.
That’s it, this was how to install ADB and Fastboot Drivers for Nexus all devices.


Leave a Comment