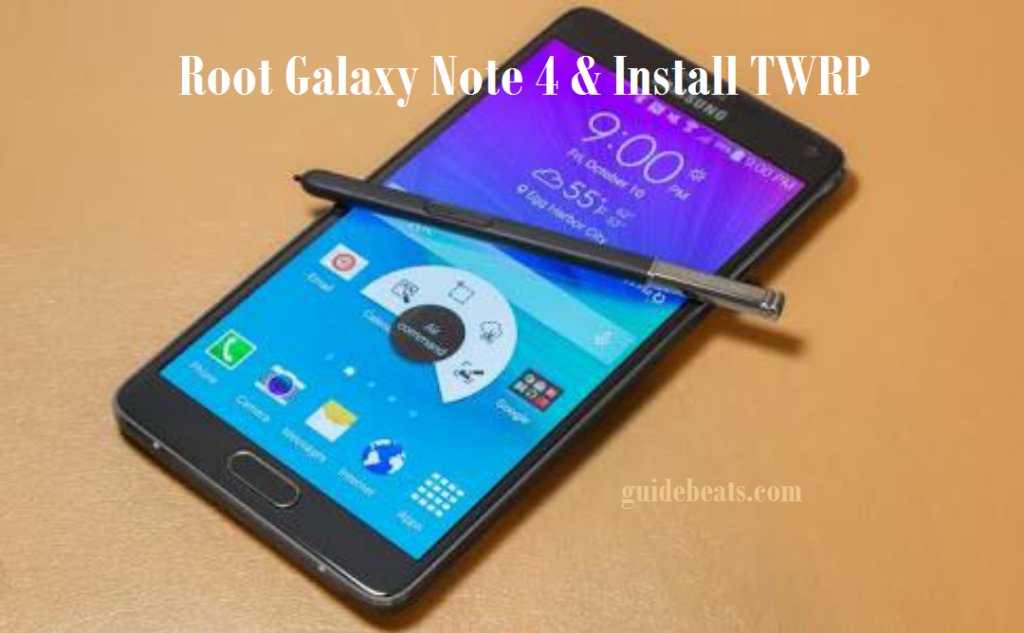
If you’re the proud user of this device and willing to Root Galaxy Note 4 and install Custom Recovery CWM/TWRP, then follow this simple tutorial completely, don’t skip any step.
Disclaimer: The tutorial can be used to Root Galaxy Note 4 and install Custom Recovery CWM/TWRP on supported devices only, check your devices model first, don’t use it for any other device. Also we www.guidebeats.com are not to be held responsible for any damage, try it on your own risk.
Following are supported Galaxy Note 4 models:
First check your device model, navigate to [Settings > About Device]
• SM-N910F – International
• SM-N910G
• SM-N910H
• SM-N910T – T-Mobile U.S.
• SM-N910P – Sprint
• SM-N910R4 – US Cellular
• SM-N910W8 – Canadian
• SM-N910C – Thailand
• SM-N910U – Hong Kong
• SM-N910K/SM-N910L/SM-N910S – Korean KT, LG, SK Telecom
• SM-N9100/SM-N9106W/SM-N9108V/SM-N9109W
Pre-requisites:
• Backup your important data on your device prior to start installation.
• Do charge your device battery more than 70% before proceeding.
• Install Samsung USB driver on your PC, for smooth connectivity. [Click here]
• Enable USB Debugging Mode on your device, navigate to [Settings > Developer options]
Downloads required:
Download TWRP recovery for Note 4 from Note 4 Recovery page [Click here]
Download latest version of Odin3 tool and extract on your PC [Download here]
Download SuperSU apk from here [Link]
Steps to Root Galaxy Note 4 and install Custom Recovery CWM/TWRP
• First download appropriate tar.md5 recovery file for your device from the above link.
• Turn off your Galaxy Note 4 completely.
• Now boot your Galaxy Note 4 into downloading mode, to do so [Press and hold Volume Down+ Home+ Power buttons together] until you see the warning screen, then press Volume Up button to confirm.
• Now connect Galaxy Note 4 to your PC via USB cable and double click on “odin3v185.exe” to run Odin3 tool on your PC,
• Then Odin will detect your device and the ID:COM port will turns blue. If doesn’t then reinstall USB driver on the PC.
• After proper connection, Click “AP” button on the Odin screen, and select downloaded recovery.tar file of your specific device.
• After loading the .tar file, hit “Start” button on odin3 to start TWRP/CWM recovery installation. Make sure that only “Auto reset time” and “auto reboot” options are checked.
• Once Recovery installation gets finished, your phone will reboot automatically,
• When your device boots up normally, copy the already downloaded SuperSU zip file on the root folder of your device.
• After copying SuperSU zip file, Turn off Galaxy Note 4 and then boot on TWRP/CWM recovery mode [Press and hold Volume Down+ Home+ Power buttons together]
• Once your device on CWM/TWRP recovery mode, choose on CWM “install zip from sdcard” or on TWRP “Install”.
• Now locate and select SuperSU zip file, that have you copied earlier and swipe at the bottom or press power button to start flashing SuperSU zip.
• After flashing SuperSU, on recovery main menu select “Reboot” to reboot your device normally, if ask for root your device, select NO.
• After boot normally find and Open SuperSU app in the app drawer of your phone, if ask for disable KNOX choose YES, restart your phone and try again if take more than 5 minutes.
• Also update binaries by click YES on the appeared massage on app startup.
That’s it, this was how to Root Galaxy Note 4 and install Custom Recovery CWM/TWRP.


![Download and Install Marshmallow B898 on Huawei P8 Lite [OTA Update] [L21-Vodafone] Download and Install Marshmallow B898 on Huawei P8 Lite [OTA Update] [L21-Vodafone]](https://d13porlzvwvs1l.cloudfront.net/wp-content/uploads/2016/12/Download-and-Install-Huawei-P8-Lite-Marshmallow-B898-OTA-Update-L21-Vodafone.jpg)


Leave a Comment